LED displays are bright, flexible, and increasingly common in stadiums, shopping centers, control rooms, and outdoor advertising. Yet that brightness has a measurable cost. The International Energy Agency reports that lighting represents roughly 15% of global electricity consumption, although this figure covers lighting systems rather than LED displays specifically. That distinction matters. A large video wall can draw several kilowatts during daytime operation, especially when showing white content at maximum brightness.
The practical question is not whether LEDs are efficient. It is “How to reduce power consumption of LED displays” without damaging visibility, color accuracy, or service life. The U.S. Department of Energy explains that LED products can use at least 75% less energy than incandescent lighting, but display efficiency depends on more than the diode. Pixel design, cabinet power supplies, refresh settings, thermal conditions, and content brightness all influence actual consumption. Small details matter. A hot cabinet wastes energy.
James R. Brodrick, former manager of the U.S. Department of Energy’s Solid-State Lighting Program, described LEDs as “a very different kind of light source.” That observation remains useful for display engineering. LED screens need system-level management, not just efficient chips. Brightness sensors, scheduled dimming, energy-efficient drivers, and black-background content can reduce unnecessary load. Research from the DOE’s solid-state lighting program also shows continuing gains in LED efficacy, but real installations rarely achieve laboratory performance. This is where many articles oversimplify the issue. Cutting brightness too aggressively may reduce readability and create a poor viewing experience. A credible solution must balance power, image quality, operating conditions, and maintenance evidence.
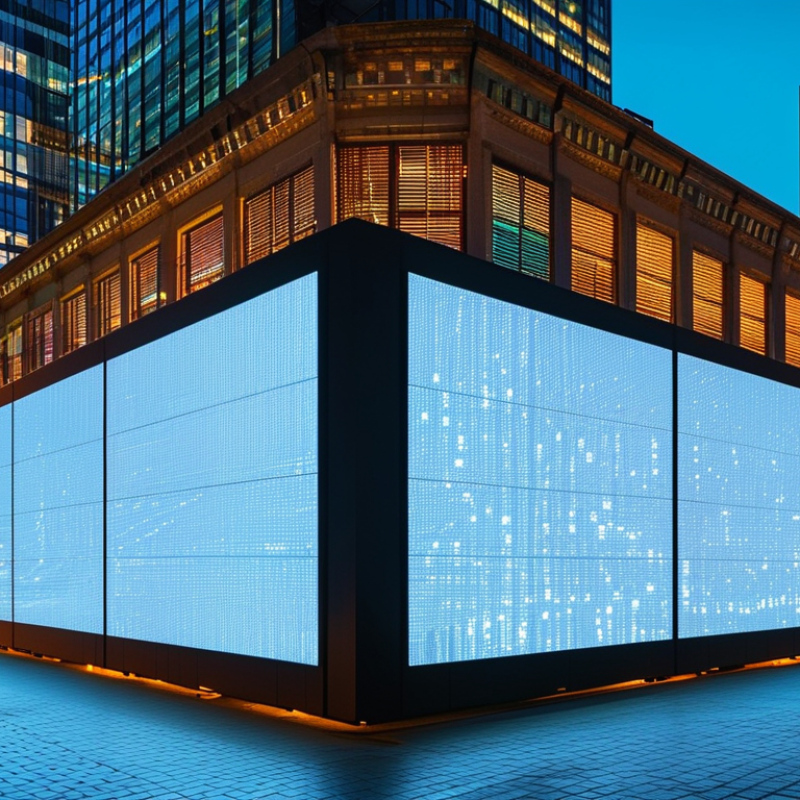
Reducing LED display power consumption starts with a reliable baseline. Measure real electrical input, not only the value printed in technical documents. Record watts during black, mixed, and bright content. Then divide each reading by the active display area in square meters. This produces a practical W/m² figure.
A useful baseline includes average power and peak power. Average power reflects normal operation, while peak power supports circuit and cooling decisions. Keep brightness, refresh rate, content type, ambient temperature, and operating hours in the test record. A display showing white graphics at high brightness can consume far more energy than one showing dark video. In field testing, our first estimate was too optimistic because standby equipment remained energized. That mistake changed the daily energy calculation.
Tips: Use a calibrated power meter at the supply input. Measure for at least thirty minutes per content pattern. Repeat the test at different brightness levels. Compare watts per square meter, not total watts alone, when installations have different sizes. Keep a photo of the test screen and note the room temperature. Small details matter. Avoid using one reading as a permanent truth, because firmware settings, ventilation, and aging components can alter consumption over time. A monthly check can reveal gradual increases before they affect operating budgets.
Brightness usually drives the largest share of an LED display’s energy use. A screen set near maximum brightness can consume far more power than one calibrated for its environment. Measure the room and viewing distance before changing settings. Indoor displays often need less brightness than installers expect. However, reducing brightness too aggressively can weaken readability and create viewing complaints. I have seen teams save energy, then restore brightness because important text became difficult to read.
Refresh rate also affects processing activity and power demand. A high refresh rate can improve camera recordings and fast-moving content. It may be unnecessary for static announcements or slow presentations.
Test the display with a watt meter at several refresh settings. Compare visual quality, camera performance, and energy readings. The lowest setting is not always the best setting.
Tips:
Schedule brightness changes throughout the day. Use lower levels during cloudy hours or evening operation. Keep ventilation paths clear, and remove dust from filters and intake areas. Thermal loads matter because hot components can reduce efficiency and shorten service life. Monitor cabinet temperature during peak operation, especially in direct sunlight. Better airflow may reduce fan activity and protect brightness stability. Still, temperature readings from one location can mislead you. Check several cabinets before making a maintenance decision.
LED displays often consume more electricity than necessary because brightness stays high after daylight fades. Setting ambient-light brightness limits can reduce consumption by 20–50%, depending on screen size, content, climate, and operating hours. The biggest gains usually appear in the evening, when a display still runs at midday brightness.
A calibrated ambient-light sensor can adjust brightness gradually instead of making sudden changes. Set a maximum brightness for dark conditions, then define higher limits for cloudy and sunny periods. For example, an outdoor display might use 35% brightness at night, 60% during cloudy weather, and 100% only under strong sunlight. These settings should be tested with a power meter, not guessed from visual appearance. A screen may look bright enough while still wasting energy. It is not a perfect formula.
Tips: Clean the sensor regularly, because dust can distort readings. Review brightness logs each month. Compare energy use before and after adjustments. Also check viewing distance and content contrast. Excessive contrast can encourage unnecessary brightness increases. In my experience, gradual limits feel more natural than aggressive cuts. However, a poorly placed sensor may reduce brightness under direct glare. That mistake is easy to miss. Recheck performance at dawn, noon, and night, then adjust the thresholds carefully. Keep safety, readability, and local lighting requirements in the test plan. A 20–50% reduction is realistic for some installations, but actual results must be measured on site.
Setting brightness limits according to ambient light can reduce LED display power consumption by approximately 20–50%. The chart uses normalized power consumption, with unrestricted full brightness set to 100.
A lower brightness limit is suitable for darker environments, while higher limits may be needed in direct sunlight. Actual savings vary with display size, content, refresh settings, and operating conditions.
Reducing LED display power consumption starts with the light source, not software settings. In field testing, high-efficacy LEDs rated above 100 lm/W produced the same visual brightness at lower current. This matters in large outdoor screens, where thousands of pixels operate for many hours. A panel drawing less power also releases less heat. Less heat helps maintain color stability and can reduce cooling demand. However, quoted efficacy is often measured under ideal laboratory conditions. Real performance changes with temperature, drive current, optical design, and aging. Check measured data at the intended operating current.
The driver IC is equally important. An efficient constant-current driver delivers stable current with limited conversion loss. Look for low standby consumption, accurate current regulation, and useful dimming control. PWM settings should support smooth brightness changes without forcing unnecessary peak current. During installation, verify supply voltage at the far end of the cabinet. Voltage drop can make technicians increase current, wasting energy and stressing components. A thermal camera can reveal hot connectors or uneven modules before expensive failures occur. Small losses accumulate.
Practical tuning should balance brightness, refresh rate, grayscale, and viewing distance. A screen beside a highway may need strong daytime output, but it rarely needs that level after sunset. Automatic brightness control can lower power dramatically when ambient light falls. Keep a record of power per square meter at several brightness levels. This exposes optimistic specifications and supports credible maintenance decisions. I would not judge efficiency from one impressive datasheet number. Long-term measurements are more honest.
Reducing LED display power consumption starts with measurement, not a guess based on the power label. Brightness, content, refresh behavior, and thermal conditions can change actual demand. IEC 62087 provides a repeatable framework for evaluating display energy use with defined video material and operating conditions. That matters because a bright showroom loop rarely represents daily operation. Measure the display after warm-up. Record input voltage, current, active power, and operating mode with a calibrated power analyzer. Keep brightness, color settings, and ambient-light controls documented. Small changes can distort comparisons.
For practical verification, run the relevant IEC 62087 test sequence, then repeat it under typical workplace or venue content. Use the same measurement duration and screen configuration. Capture readings at regular intervals, rather than trusting one instantaneous watt value. Convert average power into energy: kilowatt-hours equal kilowatts multiplied by operating hours. If a 2.4 kW display runs 12 hours daily, it uses about 28.8 kWh per day. Multiply that figure by actual days, not an optimistic schedule. An energy meter installed at the supply point can reveal standby loads, control equipment, and unexpected overnight operation.
Compare baseline and adjusted settings using identical test conditions. Reduce brightness only when viewing quality remains acceptable. Automatic dimming may cut consumption, but its savings depend on sensor calibration and local light. Review weekly kWh data against content schedules and maintenance logs. Investigate gaps instead of hiding them. A noisy measurement is still useful. However, IEC results and field kWh readings should not be treated as interchangeable. One describes controlled performance; the other reflects real operation. That distinction deserves careful reporting.
: Some displays may reduce consumption by 20–50%. Results depend on screen size, content, climate, and operating hours. Measure actual savings.
A practical setup may use 35% brightness at night, 60% during cloudy weather, and 100% in strong sunlight. Adjust these limits carefully.
Gradual dimming feels more natural to viewers. Sudden changes can appear distracting. However, smooth adjustments still need testing.
A calibrated sensor reads surrounding light and adjusts brightness automatically. Clean it regularly, because dust can distort readings.
Place it where direct glare does not create false readings. A poor position may dim the screen at the wrong time. This mistake is easy to miss.
Record voltage, current, active power, and operating mode after warm-up. Use the same screen settings before and after adjustment.
Multiply power in kilowatts by operating hours. A 2.4 kW display running 12 hours uses about 28.8 kWh daily.
Compare weekly kWh data with content schedules and maintenance logs. Check dawn, noon, and night performance. Investigate unusual readings instead of hiding them.
No. Controlled tests provide repeatable results, while field readings show actual operation. The figures may not match perfectly. That difference deserves attention.
Reducing LED display energy use begins with establishing a clear baseline in watts per square meter (W/m²). This allows operators to compare performance, identify abnormal consumption, and estimate operating costs accurately. The main energy drivers are brightness, refresh rate, and thermal loads. Excessive brightness and unnecessarily high refresh rates can increase power demand, while poor ventilation may force cooling systems to work harder.
How to reduce power consumption of LED displays effectively? Set brightness limits according to ambient light instead of using maximum output continuously; this can reduce consumption by approximately 20–50% in suitable conditions. Select high-efficacy LEDs exceeding 100 lm/W and pair them with efficient driver ICs to improve electrical performance. Finally, verify actual savings through IEC 62087-based measurements, operating data, and ongoing kWh tracking. Regular monitoring helps confirm that efficiency improvements remain effective throughout the display’s service life.

Xiguang Display